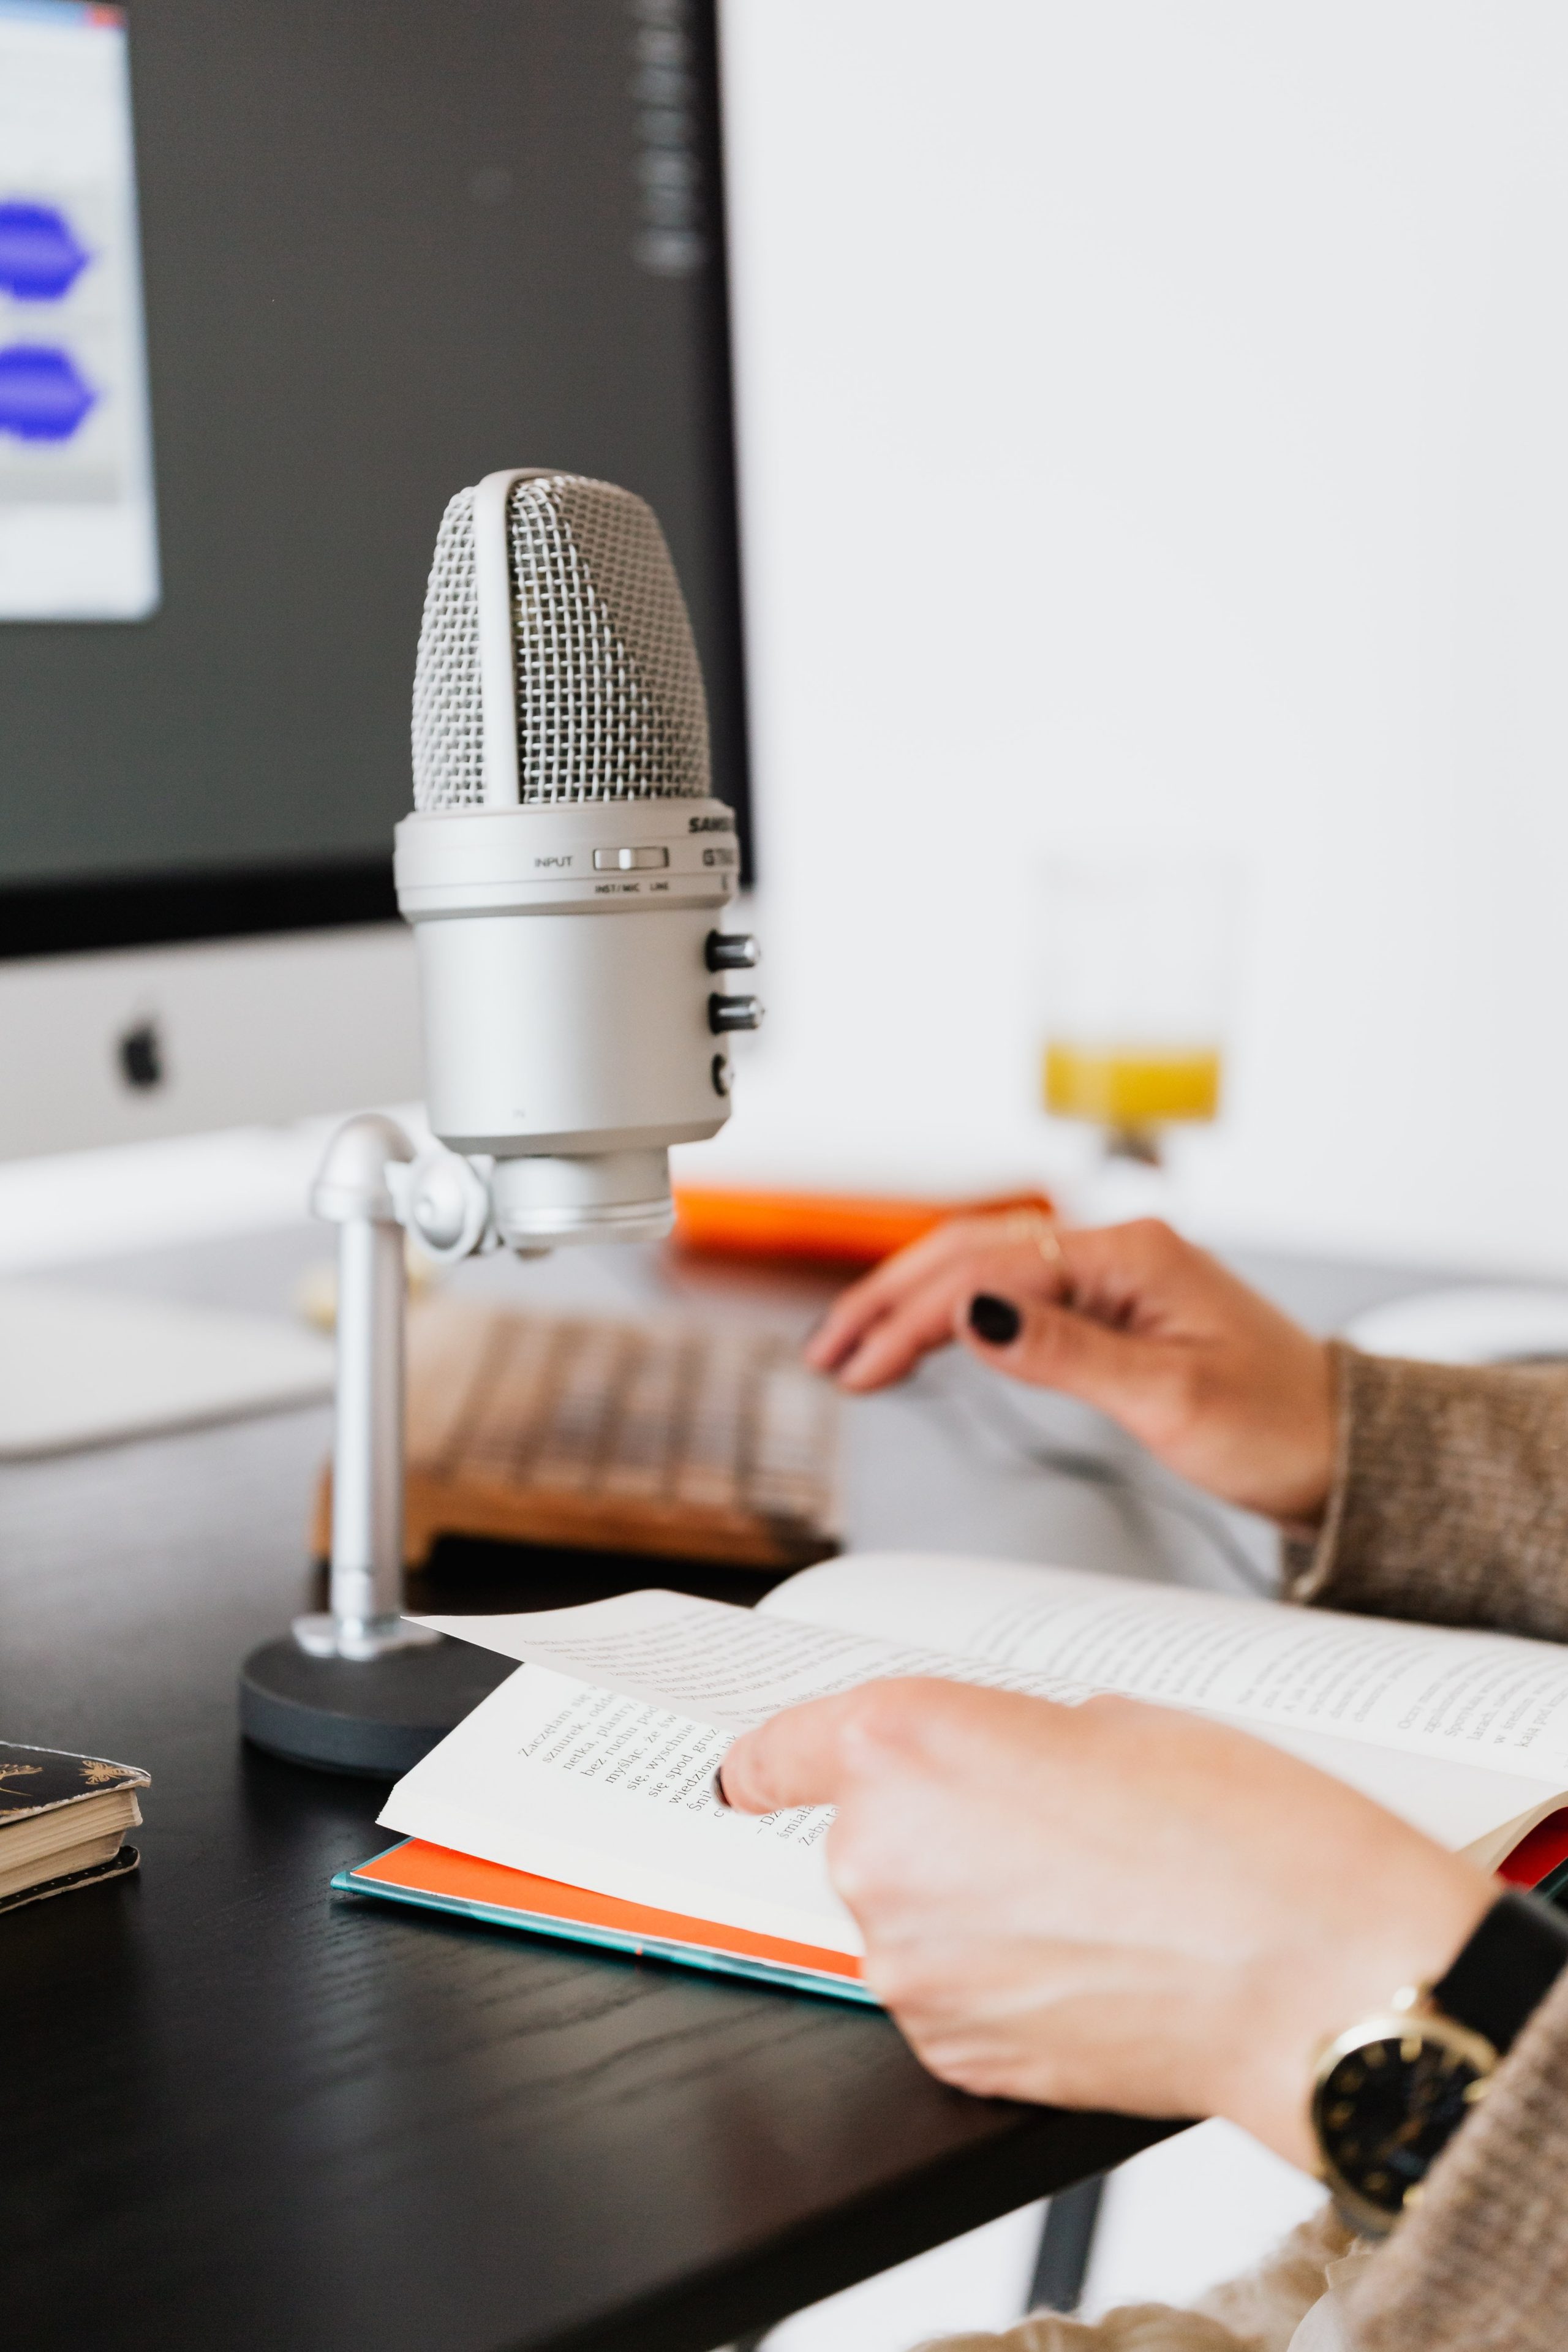
#1 Talking Off-Axis to the Microphone
we are talking about ways to use your microphone to achieve different sounds and different things and sometimes it’s not just about using your mic, it’s about you, it’s about using your body and you in relation to your microphone.
let’s discuss the first thing I want to tell you is something really common that you hear people talk about all the time but kind of hard to really understand what they’re saying unless you see it.
it is talking off-axis why do we do this? well, it’s really simple, it’s to avoid something called a plosive or ‘p’, pop, for you know slang I guess so here’s the thing when we say words that start with a P or a B like the word poor!
we can pop the P and this is what that sounds like poor what’s happening is I’m recording directly into the microphone and there’s this big rush of air that’s hitting the Mic’s diaphragm all at one time and that’s what creates that pop,
Off-axis means- I’m tilting, I’m moving my body and my mouth to just kind of graze the microphone at a different angle so that when I say the word ‘pool’ it doesn’t pop anymore also you get yourself a pop filter that is a pretty essential tool for reducing or eliminating plosives (P sounds) but it doesn’t do all of the work for you. You’ve got to do your part which means recording off access
#2 Control your audio levels
We talk about ways that you can create an environment with your microphone probably the easiest the simplest and the most in demand for today’s voice-over project is something intimate. It’s creating an environment where you really up-close and personal with the audience and it sounds like you’re in very very close proximity to them,
So the closer you get to the mic, the more of an intimate type of vocal emotions you’re going to achieve and you’re not really dropping your volume, you’re not reducing that so much but you can see the richness and the fullness of voice that comes when you really sneak in close to that mic come to a very different, very bold voice, especially when you again are trying to create intimacy,
Now what, if you’re trying to do the opposite, What if you’re trying to create something that’s spatially very big, like maybe you’re supposed to be outdoors or you’re supposed to be somewhere that’s really loud and you can’t quite hear yourself, this is common in a lot of scenarios
so let’s say you’re supposed to be in a crowded bar or restaurant and you can’t quite hear what everyone else is saying and you’re talking over this really really loud crowd.
we’ve all had this happen when we’re standing right next to somebody but we’re basically screaming into their ear, to replicate that you have to be off-mic you have to back way up and increase your volume but by backing up,
you’re gonna make it so that you don’t over-modulate your voice and the track doesn’t become rendered useless,
okay so it helps you to create that sound that’s a really fun one to play with and it’s all about that spatial relationship between you and your microphone.
#3 Be Realistic against the Microphone
Lastly, there are a lot of voice-over scripts and a lot of performances that call for physical activity where we are supposed to be doing something physical working out at the gym, biking, hiking, running, playing tennis, skiing or any number of activities and we have to somehow recreate that relationship.
well, that can be difficult to do on Mic because obviously, we have to be aware of the microphone. we don’t want to tap into it.
we don’t want to bump it, and we don’t want to, of course, be off of it either and that’s really easy to do, One should have to keep in mind is, it’s all about your mouth,
it’s all about your mouth in relation to its placement with the mic, the rest of your body is free to do whatever it needs to and so you can work within those confines, so this is something you can practice really easily.
keep your mouth stationary but keep the rest of your body moving and nearer or mimic the motion you’re supposed to be making, so if I’m supposed to be jogging or running this is what I’m gonna do but notice that my mouth pretty much stays in the same place and even though there’s a little bit of balance and a little bit of rumble in the room,
It’s still not gonna negatively affect the performance it is going to mirror or mimic that idea that I’m actually doing that activity in real life and it’s something that people can hear and it makes a big difference with your performances so have fun with it figure out how much space you have in your booth figure out how much room you have to play with and get in there and move around and play around with your microphone it makes all the difference.
Here are some frequently asked questions (FAQs) regarding voice-over microphone placements:
Q: Where should I position the microphone for voice-over recordings?
A: Ideally, place the microphone at a distance of about 6 to 12 inches from your mouth, slightly off to the side, and angled towards your mouth. This helps capture clear and balanced audio while minimizing plosives and sibilance.
Q: Should I use a pop filter with my microphone?
A: Yes, using a pop filter is highly recommended. It helps reduce plosive sounds caused by bursts of air hitting the microphone during certain vocal sounds, such as “p” and “b.” A pop filter ensures smoother recordings and improves overall sound quality.
Q: What is the significance of microphone proximity?
A: Microphone proximity refers to the distance between the microphone and the sound source (your mouth). The closer you are to the microphone, the stronger and more intimate the sound will be. However, getting too close may result in excessive bass or proximity effect, so it’s essential to find the right balance for your desired sound.
Q: Should I consider the room acoustics when positioning the microphone?
A: Yes, room acoustics play a crucial role in voice-over recordings. To minimize unwanted reflections and reverberations, record in a quiet room with minimal background noise. Additionally, you can use acoustic treatment, such as foam panels, to reduce echoes and create a more controlled recording environment.
Q: Is it better to use a condenser or dynamic microphone for voice-over work?
A: Both condenser and dynamic microphones can be suitable for voice-over work, depending on the specific requirements and personal preferences. Condenser microphones generally capture more detail and are ideal for capturing a broader frequency range, while dynamic microphones offer better rejection of background noise and are often more durable.
Remember, experimenting with microphone placement and settings can help you achieve the best results for your voice-over recordings.
- The Hidden Legal and Reputational Risks of AI Voices: What Content Creators Need to Know
- Why Indian AI voice Dataset Projects are the New Digital Gold ?
- Shah Rukh Khan in Jawan 2: The Evolution of Voice, Age, and Authority
- Latest Bollywood News: Star Updates, Releases & Gossip Unveiled!
- Dhurandhar 2 Review : Cast, Dubbing Secrets & Voice Performance Breakdown (2026)
- After Sunil Grover, Sandeep Salwann Emerges as a Remarkably Accurate Aamir Khan Mimicry
- Ranbir Kapoor vs Ranveer Singh: Who Has the Better Voice?
- Shah rukh khan Debut Movie: The Start of a Bollywood Legend
- Unlocking the Future: The Rise of AI Dubbing Technology
- Energetic Priyanka Chopra Voice Beyond the Spotlight for Varanasi
- King Movie (2026): Shah Rukh Khan, Suhana Khan, Release Date & Updates
- Indian voiceover services for E-Learning: Why VoiceOverMehak is the Perfect Choice
Leave a Reply